I was a little late to the whole COVID sourdough obsession. At the time, I was hanging on for dear life through Zoom calls, homeschooling, and everything else going on. The only new hobby that sounded particularly appealing was ordering wine in bulk. But I digress.
Baking sourdough came a few years later for me. I started reading blogs and watching videos, trying to understand what a starter actually was and which tools I needed. Before committing to the whole setup, I decided to try a few loaves and see whether this was something I would actually keep doing.
My first few were mildly successful. But the more I watched people spend ages shaping dough to create tension and discuss bench rests, second fermentation, and hydration percentages, the more intimidated I felt. I was learning more by trying a loaf, seeing what happened, and making another than by trying to understand every term before I started.
Then I found a simple recipe that called itself overnight sourdough. That sounded doable. Once I tried it, I realized the process was much simpler than I had made it in my head. So I started playing with just how simple I could keep it.
This is where I landed: four ingredients, a few rounds of stretch-and-folds when I remember and walk past, and a rest in the fridge overnight. No elaborate shaping routine. A friend recently told me she liked my sourdough better than the local bakery’s. So apparently I have that going for me, even if I still forget which stretch-and-fold I am on.
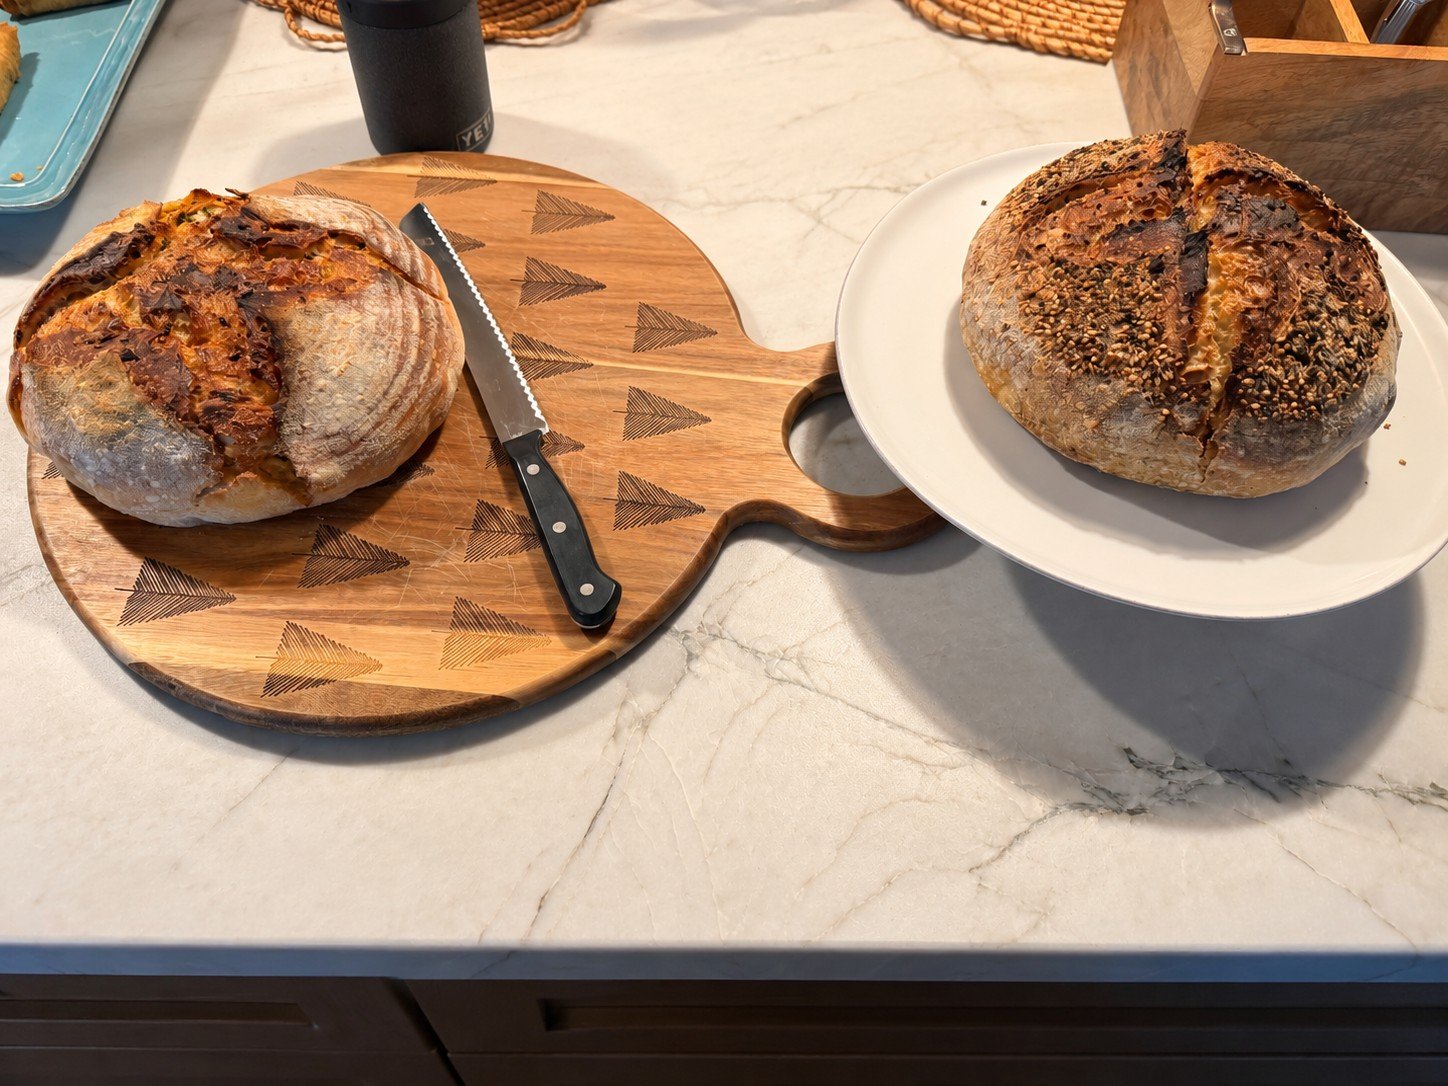
Here is how I do it, explained as clearly as I can without turning a loaf of bread into homework.
My four-ingredient dough
- 100 grams active sourdough starter
- 375 grams water
- 10 grams salt
- 500 grams flour
This makes one loaf. Use an established, active starter that is ready to raise bread, rather than sourdough discard. Flour type, starter strength, and room temperature all affect how the dough feels and how quickly it rises. The times below describe my routine, not a promise that every kitchen runs on the same schedule.
If you are starting without a starter, I like Natasha’s Kitchen. Her sourdough starter video and guide walk through that part separately, so you can get your starter going before worrying about your first loaf.
The little tool I use for two jobs
I use this slim Tovolo Scoop and Spread tool for my stretch-and-folds so I can keep the sticky dough off my hands. It is also skinny enough to get into my starter jar, stir things together, and scrape down the sides. One tool, two jobs, and less dough attached to me: that is my kind of kitchen equipment.
You do not need to buy a special tool before trying your first loaf. If you already have a suitable flexible spatula or prefer using your hands, start there. This is simply the one I actually reach for.
Step 1: Mix, then leave it alone for twenty minutes
Mix the starter, water, and salt together first. Add the flour and mix until there are no obvious dry patches. The dough will look rough and feel sticky. It does not need to be beautiful at this point, which is reassuring because it usually is not.
Cover the bowl and leave it alone for about twenty minutes. You can go and do something else. There is usually something else.
Step 2: Four rounds of stretch-and-folds
I slide my spatula under an edge of the dough, gently lift it, and fold it over itself. Turn the bowl and repeat around the dough to make one round. Stretch only as far as the dough comfortably allows; do not force it to the point of tearing. Slightly damp hands work too if that is easier with the tool you have.
Cover it again and repeat for four rounds in total, roughly twenty minutes apart. My version of roughly is sometimes “when I remember and walk by.” You are gently folding the dough over itself, then leaving it to rest again. It does not need to become a complicated production.
Step 3: Let it rise
After the folds, I generally leave the covered dough to rise for about six to ten hours. Check on it along the way; a warm kitchen can make it ready sooner, while a cooler one can slow it down.
You are looking for dough that has grown noticeably and looks airy, with some bubbles. If you gently move the bowl, it should have a little wobble. Do not automatically wait for the full ten hours if it is already ready, or leave it until it starts collapsing. The dough is the useful guide here; the clock is there to remind you to look.
If you want pictures and a more detailed explanation, King Arthur Baking has a guide to this first rise. You will see it called bulk fermentation. That is the term for the rise we are talking about, not another step you have somehow missed.
Step 4: Add flavor, form a ball, and refrigerate
At this stage I add any mix-ins, gently working them into the dough without treating it like something that needs a vigorous knead. Then I bring it into a simple ball and put it in a prepared banneton, the proofing basket I use for its overnight rest. Keep the basket or its liner suitably floured so the dough can release.
I am not doing a complicated shaping routine. I just want the loaf to hold together and fit its basket. Cover the dough so it does not dry out and put it in the fridge overnight, or for up to twenty-four hours in my routine.
The everything-bagel version
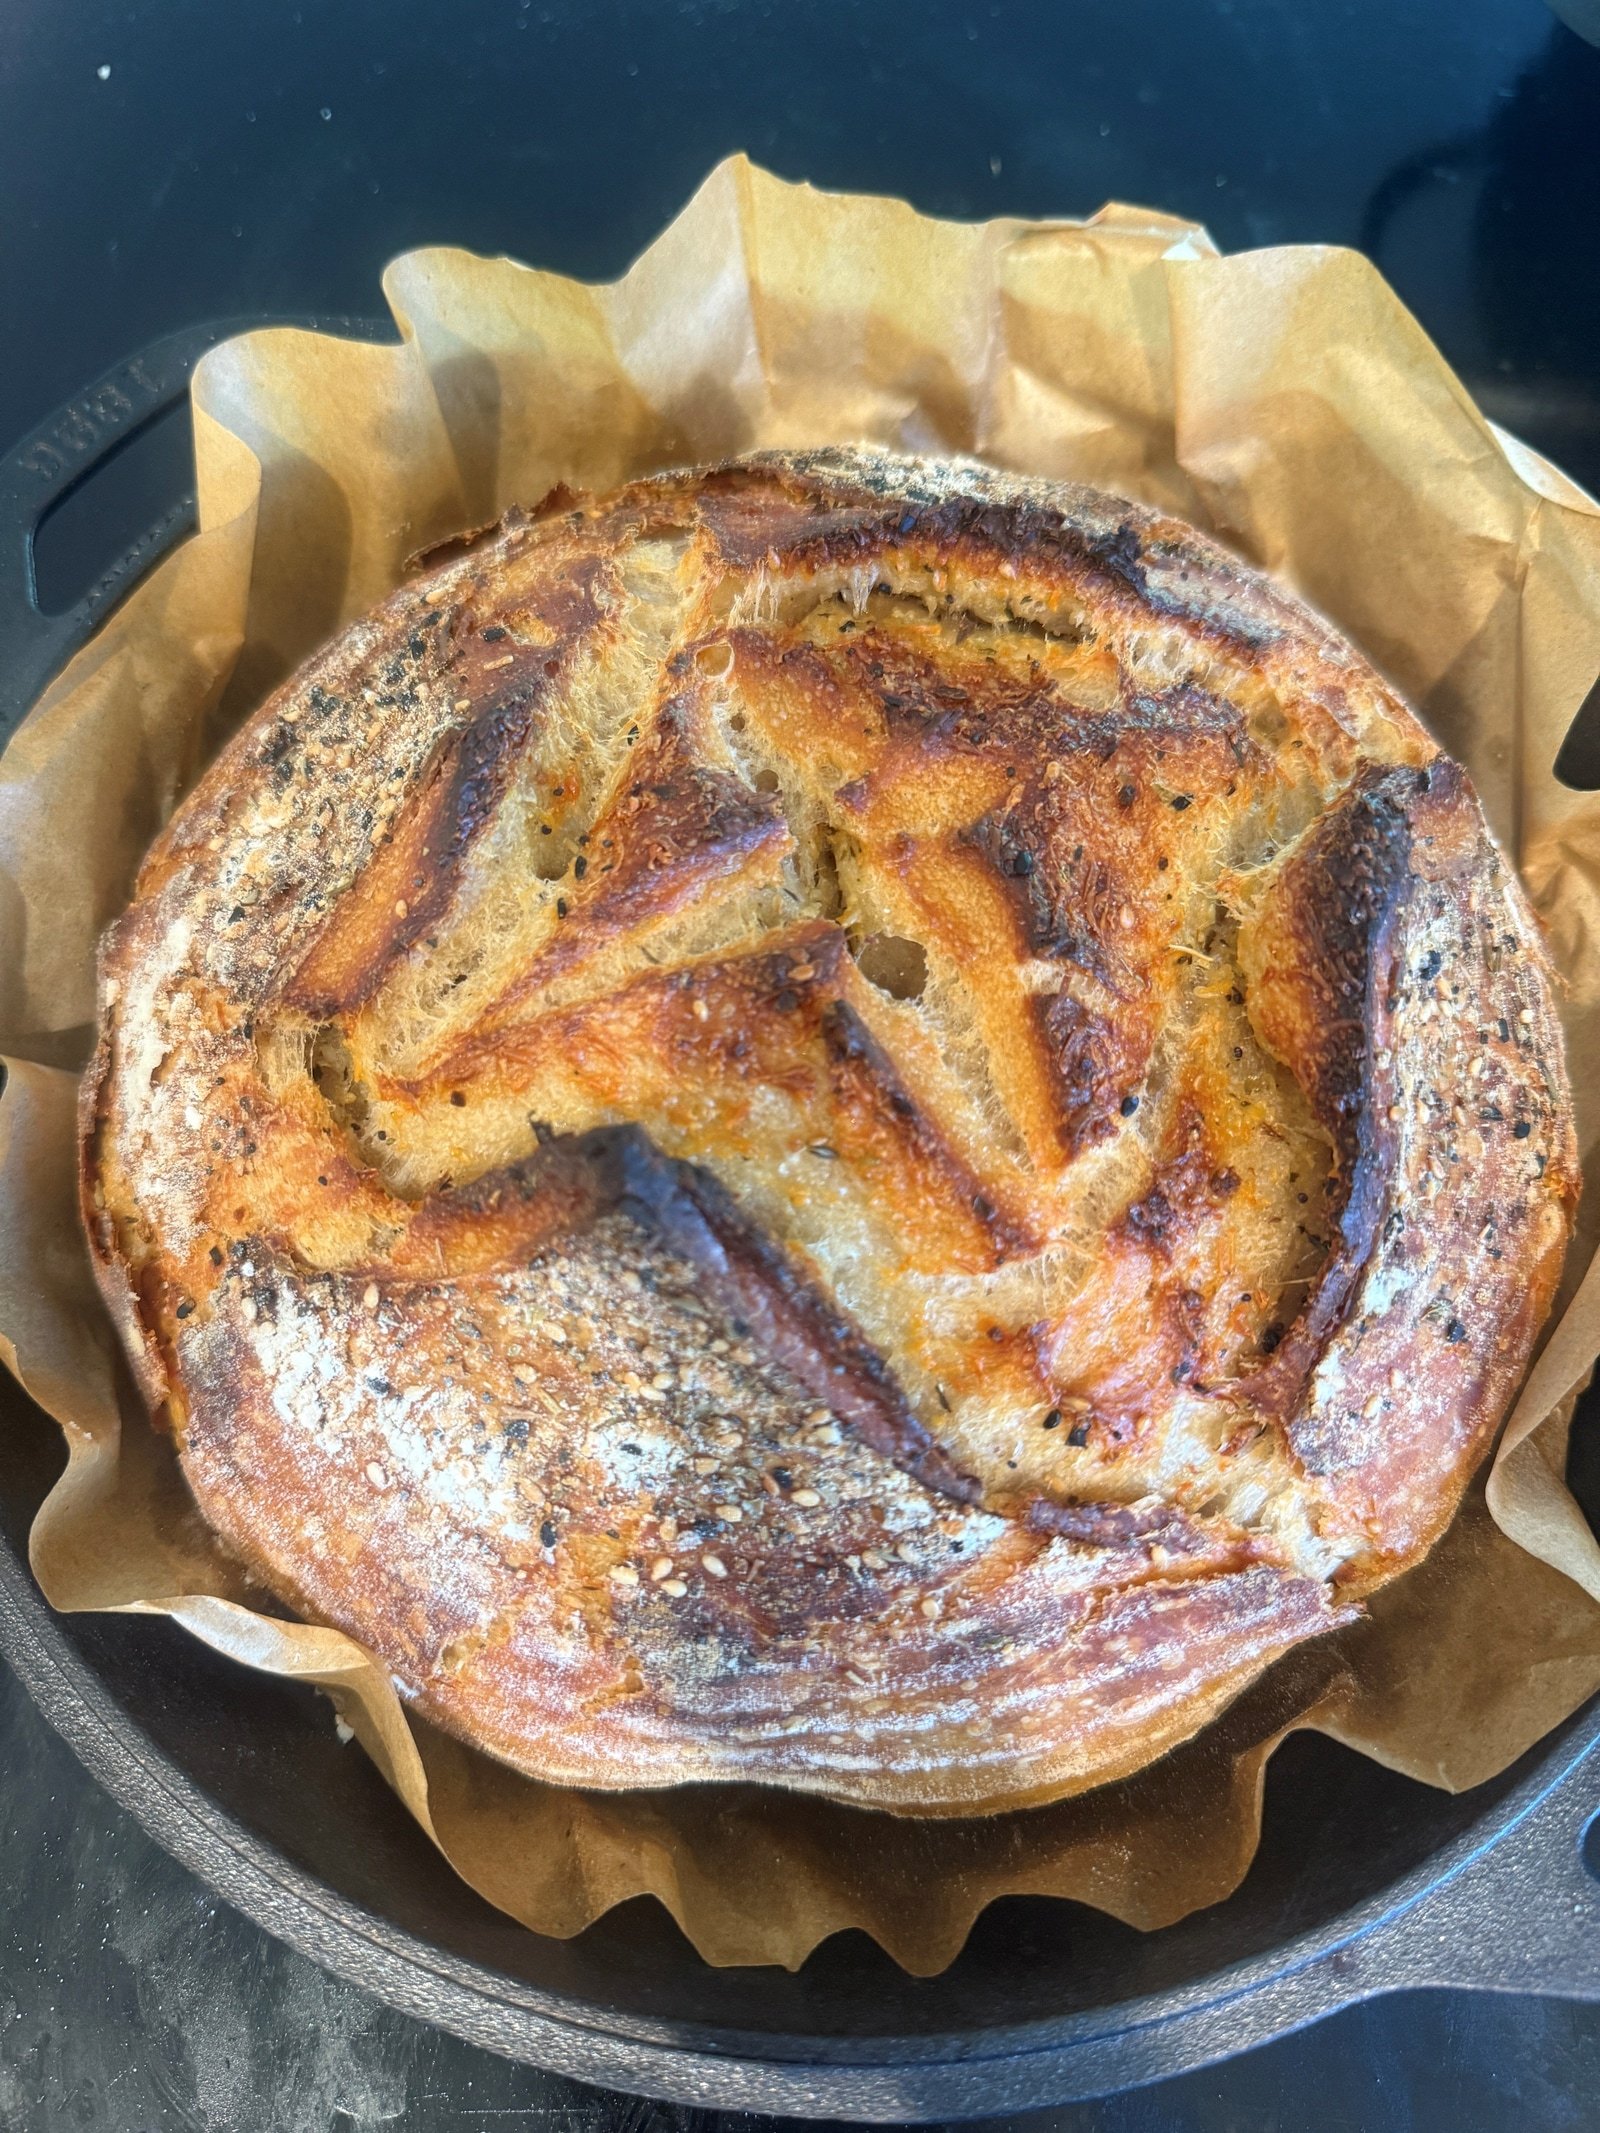
This is the easy favorite: I usually put everything-bagel seasoning in the base of the prepared banneton before adding the formed dough. It gives the outside of the loaf that familiar savory flavor without a separate mixing project.
Choose an amount you enjoy and remember that some blends contain plenty of salt. Keep the seasoning in addition to your usual nonstick flour preparation; it is there for flavor, not as a replacement for helping the loaf release.
The jalapeño and smoked-cheddar version
Jalapeño and smoked cheddar are another family favorite. Fold the mix-ins through before the final shaping and cold rest, then continue with the same basic method. Drain and blot wet jalapeños well and let any cooked additions cool before adding them.
I have not given fixed mix-in quantities here because I do not have a measured version to share yet. Start modestly with the flavor you prefer rather than loading in so much that the dough becomes difficult to handle. Additions can change the timing and the way the loaf bakes, so keep an eye on it.
Step 5: Preheat the Dutch oven
I preheat the oven to 450°F with my cast-iron Dutch oven inside for about an hour before baking. Use cookware suitable for that temperature and follow its instructions. If using parchment, check its temperature rating too. A banneton is a proofing basket; it does not go into the oven.
This is the Lodge 5-quart Double Dutch Oven I use for sourdough. Its lid also works as a skillet. I like having equipment that earns its cupboard space, particularly when I am already finding somewhere for a bowl of dough to sit.
Step 6: Bake covered, then uncover
Turn the cold loaf out of the banneton onto a suitable baking surface or appropriately rated parchment and make a simple expansion score with a suitable blade, keeping hands clear. Carefully place it in the preheated baker and cover it. The pot, lid, and handles will all be extremely hot; use dry, suitable oven mitts and take care when removing the lid because of escaping steam.
My bake is forty minutes covered at 450°F, followed by another eight to ten minutes uncovered. Check for a well-baked loaf and the crust color you like; ovens, cookware, and additions can change the result. Those are my usual timings, not a reason to ignore what the loaf is doing.
Transfer it carefully to a rack and let it cool fully before slicing so the crumb can set. This may be the least popular instruction in the whole process, but it is worth giving the bread that last bit of time.
The part that made it manageable
Most of the process is waiting. The work happens in short pieces: mix, walk past and fold, check the rise, put it in the fridge, bake the next day. Once I stopped imagining that every stage needed to be elaborate, the whole thing felt much more approachable.
There is still a little trial and error, and not every loaf needs to look the same. But you do not have to understand every sourdough term before you are allowed to try making bread. Start with the simple version, notice what works in your kitchen, and make another loaf. That has taught me much more than waiting until I felt completely ready.