A small side table is a good place to begin a furniture refresh. It is useful, usually manageable to move, and small enough that the project does not need to take over the house. You can change its whole feel with paint and one carefully chosen piece of hardware.
Before choosing a color, decide what you want it to look like in the room. A soft, matte finish can feel relaxed and farmhouse-inspired. A smoother satin or gloss finish can feel more polished. The shape of the table still matters, but the paint and handle give you plenty to work with.
Step 1: Check that the table is worth refreshing
Look at the legs, joints, top, and drawer. Check for wobbling, water damage, lifting veneer, or anything that needs repair. Tighten suitable hardware and address straightforward damage before painting. A failing structure needs more than a prettier surface.
Identify the existing material and finish. If an older coating is unknown, establish what it is and get suitable guidance before sanding, scraping, or stripping. Choose an easier candidate if this is your first project. You are allowed to learn on a cooperative table.
Step 2: Choose the paint system and the hardware together
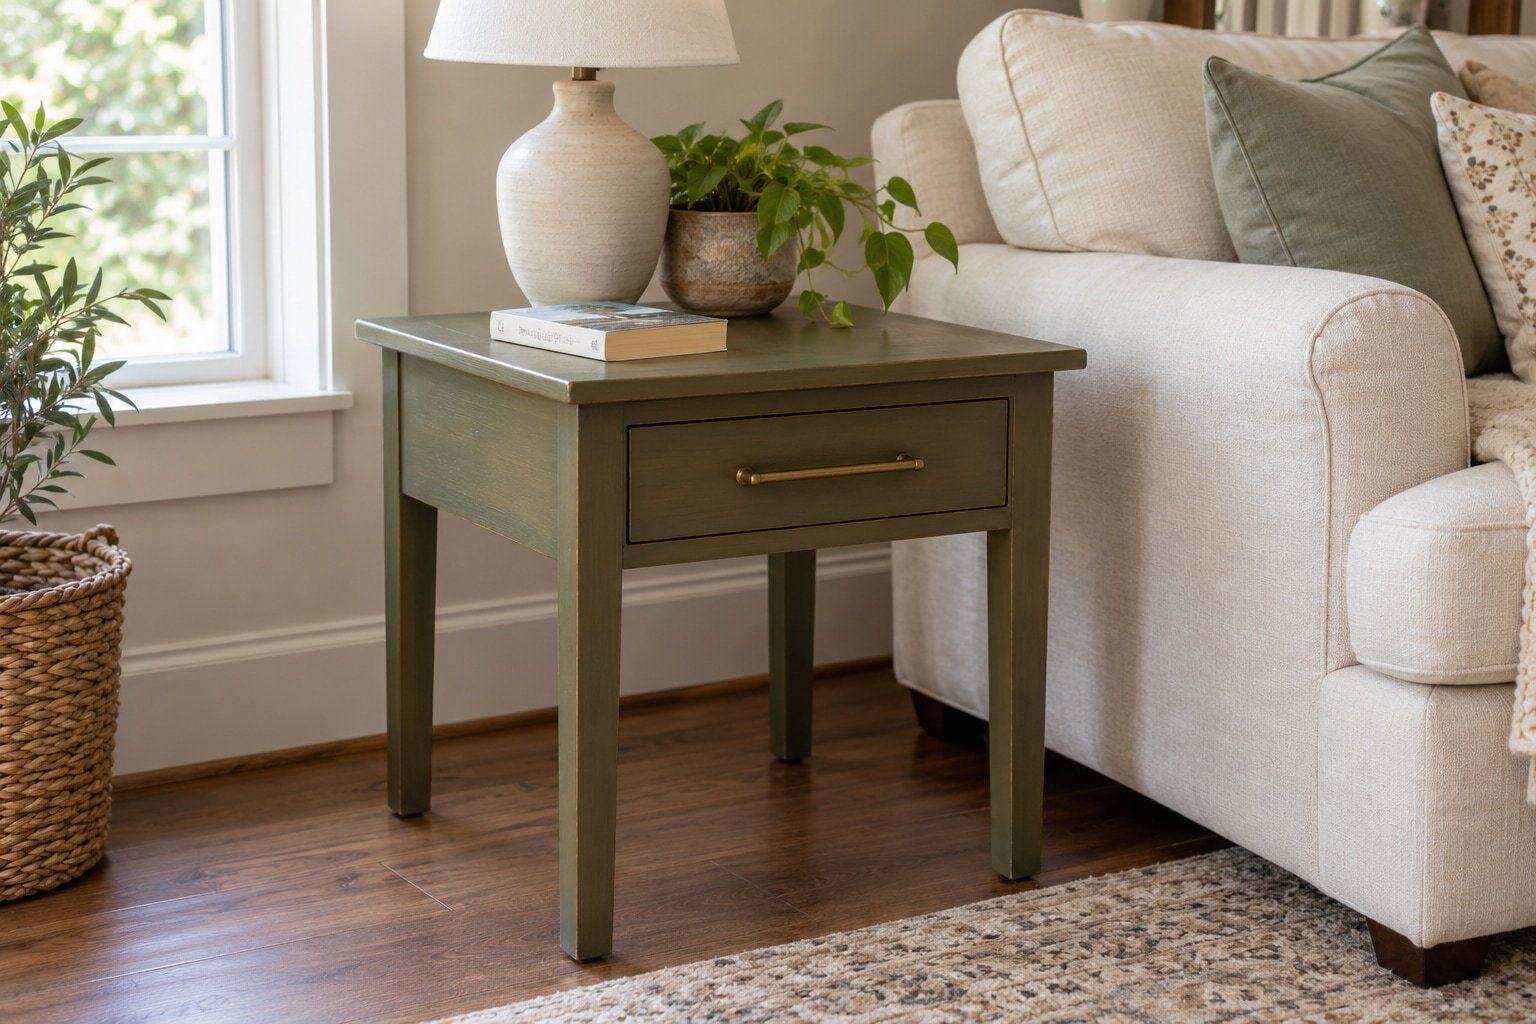
A chalk-style furniture paint is an option for a soft, matte, farmhouse feel. Use the preparation and protective finish recommended for that particular product. A compatible spray paint in a satin or gloss finish can give a more polished look when applied well; sheen comes from the product you choose, not simply from using a spray can.
Read the instructions for the paint, primer, and any topcoat before buying. Check compatibility, ventilation, protective equipment, application conditions, drying, and curing. Do not assume every furniture paint follows the same shortcuts.
Choose the new hardware now. A long, sleek handle can add elegance. An unusual knob can give a plain table character. Check the existing hole spacing and the thickness of the drawer front so the replacement will fit.
Step 3: Remove, clean, and prepare
Take off the hardware and remove the drawer if appropriate. Photograph the arrangement and keep the small parts together. Protect the work area, especially if spraying, and follow the product directions for ventilation and overspray control.
Clean using a method suitable for the piece and let it dry. Prepare the surface as your chosen coating requires. Repair old hardware holes before painting if the replacement needs a different arrangement, using an appropriate filler and preparation process for the material.
Step 4: Test the color and apply thin coats
Try a discreet area and let it dry so you can judge the color and adhesion. Check it in the room's daylight and evening light. The warm olive you liked online may look quite different beside your floor.
Apply thin, even coats as directed. With a brush or roller, use the tools suited to the finish. With spray paint, follow the can's distance, movement, recoat, and environmental guidance. More paint at once is not a reliable shortcut to a smoother result.
Give each coat the time it needs. If the project takes longer than one weekend because the finish needs it, that is fine. “Weekend DIY” describes a manageable project, not permission to ignore drying instructions.
Step 5: Add the recommended protection
Use a compatible wax, lacquer, or topcoat only where recommended for your paint and the table's intended use. Check whether the protective layer changes the sheen. A matte painted look still needs to cope with the things you plan to put on it.
For product-specific details, see Annie Sloan's furniture-paint preparation guidance or Sherwin-Williams' spray-paint guide. Follow the directions for the actual products you select.
Step 6: Let it cure, then install the hardware
Dry to the touch and ready for regular use are not necessarily the same. Wait for the manufacturer's stated curing period before treating the table as finished. Fit the hardware carefully, making sure screws suit the material and do not interfere with the drawer.
Keep the paint name and finish details for later touch-ups. That small note is considerably easier than trying to match a mystery green a year from now.
Step 7: Put it back with a simple purpose
Add a lamp, a current book, or a useful tray, leaving room for a drink. A refinished table should still be good at being a table.
The finished-look image below is an illustration of one possible paint-and-hardware combination, not a documented before-and-after of a tested project. Use it to think about the result you want, then choose the finish that suits your room and the piece you have.